
Tags
Bio Yoghurt, body, Breakfast, conversation, Easi-Yo, Fermenting, Food, Food Science, Fruit Yoghurt, Good Bacteria, Gut Health, Healthy Bacteria, Healthy Eating, Homemade Yoghurt, Lactic Acid, Lactose, Live Yoghurt, Natural Yoghurt, Onken, Probiotics, Recipe, Starter Recipe, Yeo Valley, Yoghurt
Live, or bio, yoghurt is a very healthy food source containing “friendly bacteria”.
Live yoghurt is fermented with live cultures, also known as probiotics, and can be beneficial to the digestive system and contribute to the balance of natural bacteria in your body, specifically the stomach and intestines when they have been aggravated by illness or medical treatment, for example. Live yoghurt may also be useful for treating irritable bowel syndrome or diarrhoea and it has always been one of my go-to’s if I’m feeling under the weather although I should point out that this happens only rarely; I often have a couple of tablespoons of live natural yoghurt at breakfast time with orange or apple or with berries if I have any and I also enjoy it with homemade fruit compote which I poach gently in a pan on the stove and then take it off the heat to cool in its own juices which enables the natural sugars to be released, although if the fruit is quite sharp I might add a tablespoon of honey as it starts to cool down.
Live yoghurts are a valuable source of lactic acid and contain species of bacteria from the Lactobacillus and Bifidobacterium families of bacteria. According to the National Yoghurt Association, pasteurised milk is converted to yoghurt during the fermentation process. Live yoghurt is usually safe for most people to eat unless their immune system is weak or compromised and if you have a good immune system it may help to strengthen it even further. If you don’t consume probiotics at the moment but are interested in doing so and are unsure whether they are right for you, perhaps discuss it with your GP or other health professional.
Whilst you can find a wide range of yoghurts and other probiotics, such as kefir, in the supermarket it is easy and fun to make your own live yoghurt at home. There are a number of ways of adding probiotics to yoghurt to make live yoghurt, some requiring more investment than others. One method might be to buy an Easi-Yo kit consisting of a large wide insulated flask and a yoghurt pot with a screw on lid and some sachets of probiotic powder. These all contain instructions and are super-easy to use although they can work out quite expensive, especially if like Dan and I you get through a lot of live yoghurt but the method is simple and fuss-free and the yoghurt is delicious every time with a lovely, creamy texture and flavour. The Easi-Yo range is stocked in the Lakeland Ltd and The Range stores and the powders are available in many flavours including natural, vanilla and even fruity ones such as strawberry.
Another way is my new favourite way which is to add a few spoons of premade live yoghurt such as Yeo Valley, Onken or Helen’s Farm (if you prefer goat milk products) to a yoghurt recipe, and this is your ‘starter’ – a principle similar to making sourdough bread, for example – and well, I felt it was necessary to research other methods of yoghurt making and perhaps save a few pennies in the cost of living crisis we are experiencing on a worldwide scale. Traditionally, the starter uses a well-balanced blend of bacteria that ‘eats’ the sugars that occur naturally in milk and then turn the milk into lactic acid, which then changes the taste and texture and will give your starter a thicker, creamier and tangier taste.
Very little equipment is needed to make your own live yoghurt. All you need are things most of us have around the kitchen: a large saucepan, a measuring cup or jug, a food thermometer, a wide-necked Thermos flask or insulated cup with a tight-fitting lid, a large sterilised jam jar, a balloon whisk (a cheap one is fine if you are short of money), a carton of full-fat or semi-skimmed cow’s milk or goat milk or UHT milk and a small pot of store-bought live yoghurt. If you like your yoghurt thicker, creamier and a bit more tangy then you might also add a little skimmed milk powder. Simply add 25 g (1 oz) of skimmed milk powder to every 500 ml of milk. If you prefer flavoured live yoghurt just buy a small pot of store-bought live yoghurt in any flavour you like to use as your starter. You will need 3 tbsp of the starter to every 500 ml of milk.
My recipe below is for 500 ml of live natural yoghurt because I only had a 500 ml capacity insulated cup that I could find right away! We had a new kitchen recently which we are still re-populating and I cannot remember where I put my Easi-Yo flask!
Ingredients
- 500 ml fresh full-fat cow’s milk
- 25 g skimmed milk powder
- Small pot Yeo Valley bio yoghurt
Equipment
- Large heavy-based saucepan
- Food thermometer
- Measuring jug
- Digital scales or measuring jug/cup and measuring spoons
- Balloon whisk
1. Remove the small pot of store-bought Live Yoghurt and leave on the counter in order to bring it to room temperature. Warm up your flask or insulated cup ready to use and according to manufacturer’s instructions (for ease of reference, you can usually fill it with hot, not boiling water, and put the lid on to stay warm and then tip out the water when you are ready to use the flask/cup).
2. Measure 500 ml milk in a jug or measuring cup and pour into the saucepan.
3. Weigh out 25 g skimmed milk powder (the cheaper ones work perfectly well – I use Tesco’s own brand) and add it to the pan of milk and whisk it in well to fully combine.
4. Clip the thermometer to the side of the saucepan so the metal probe has contact with the milk and place the pan on the stove over a low heat stirring with the balloon whisk occasionally. The liquid needs to reach 86oC on the thermometer and this may take up to 10 minutes. NOTE: if you are using UHT milk just heat it to 46oC and immediately follow step 5.
5. When the milk reaches the required temperature take it off the heat and set aside until it cools down to 46oC and quickly add 3 tablespoons of live yoghurt and whisk it in thoroughly before pouring it into the warmed flask or cup and then screw the lid on tightly.
6. Leave to stand on the counter for at least 8 hours or overnight. The longer you leave it there the thicker and creamier it will be.
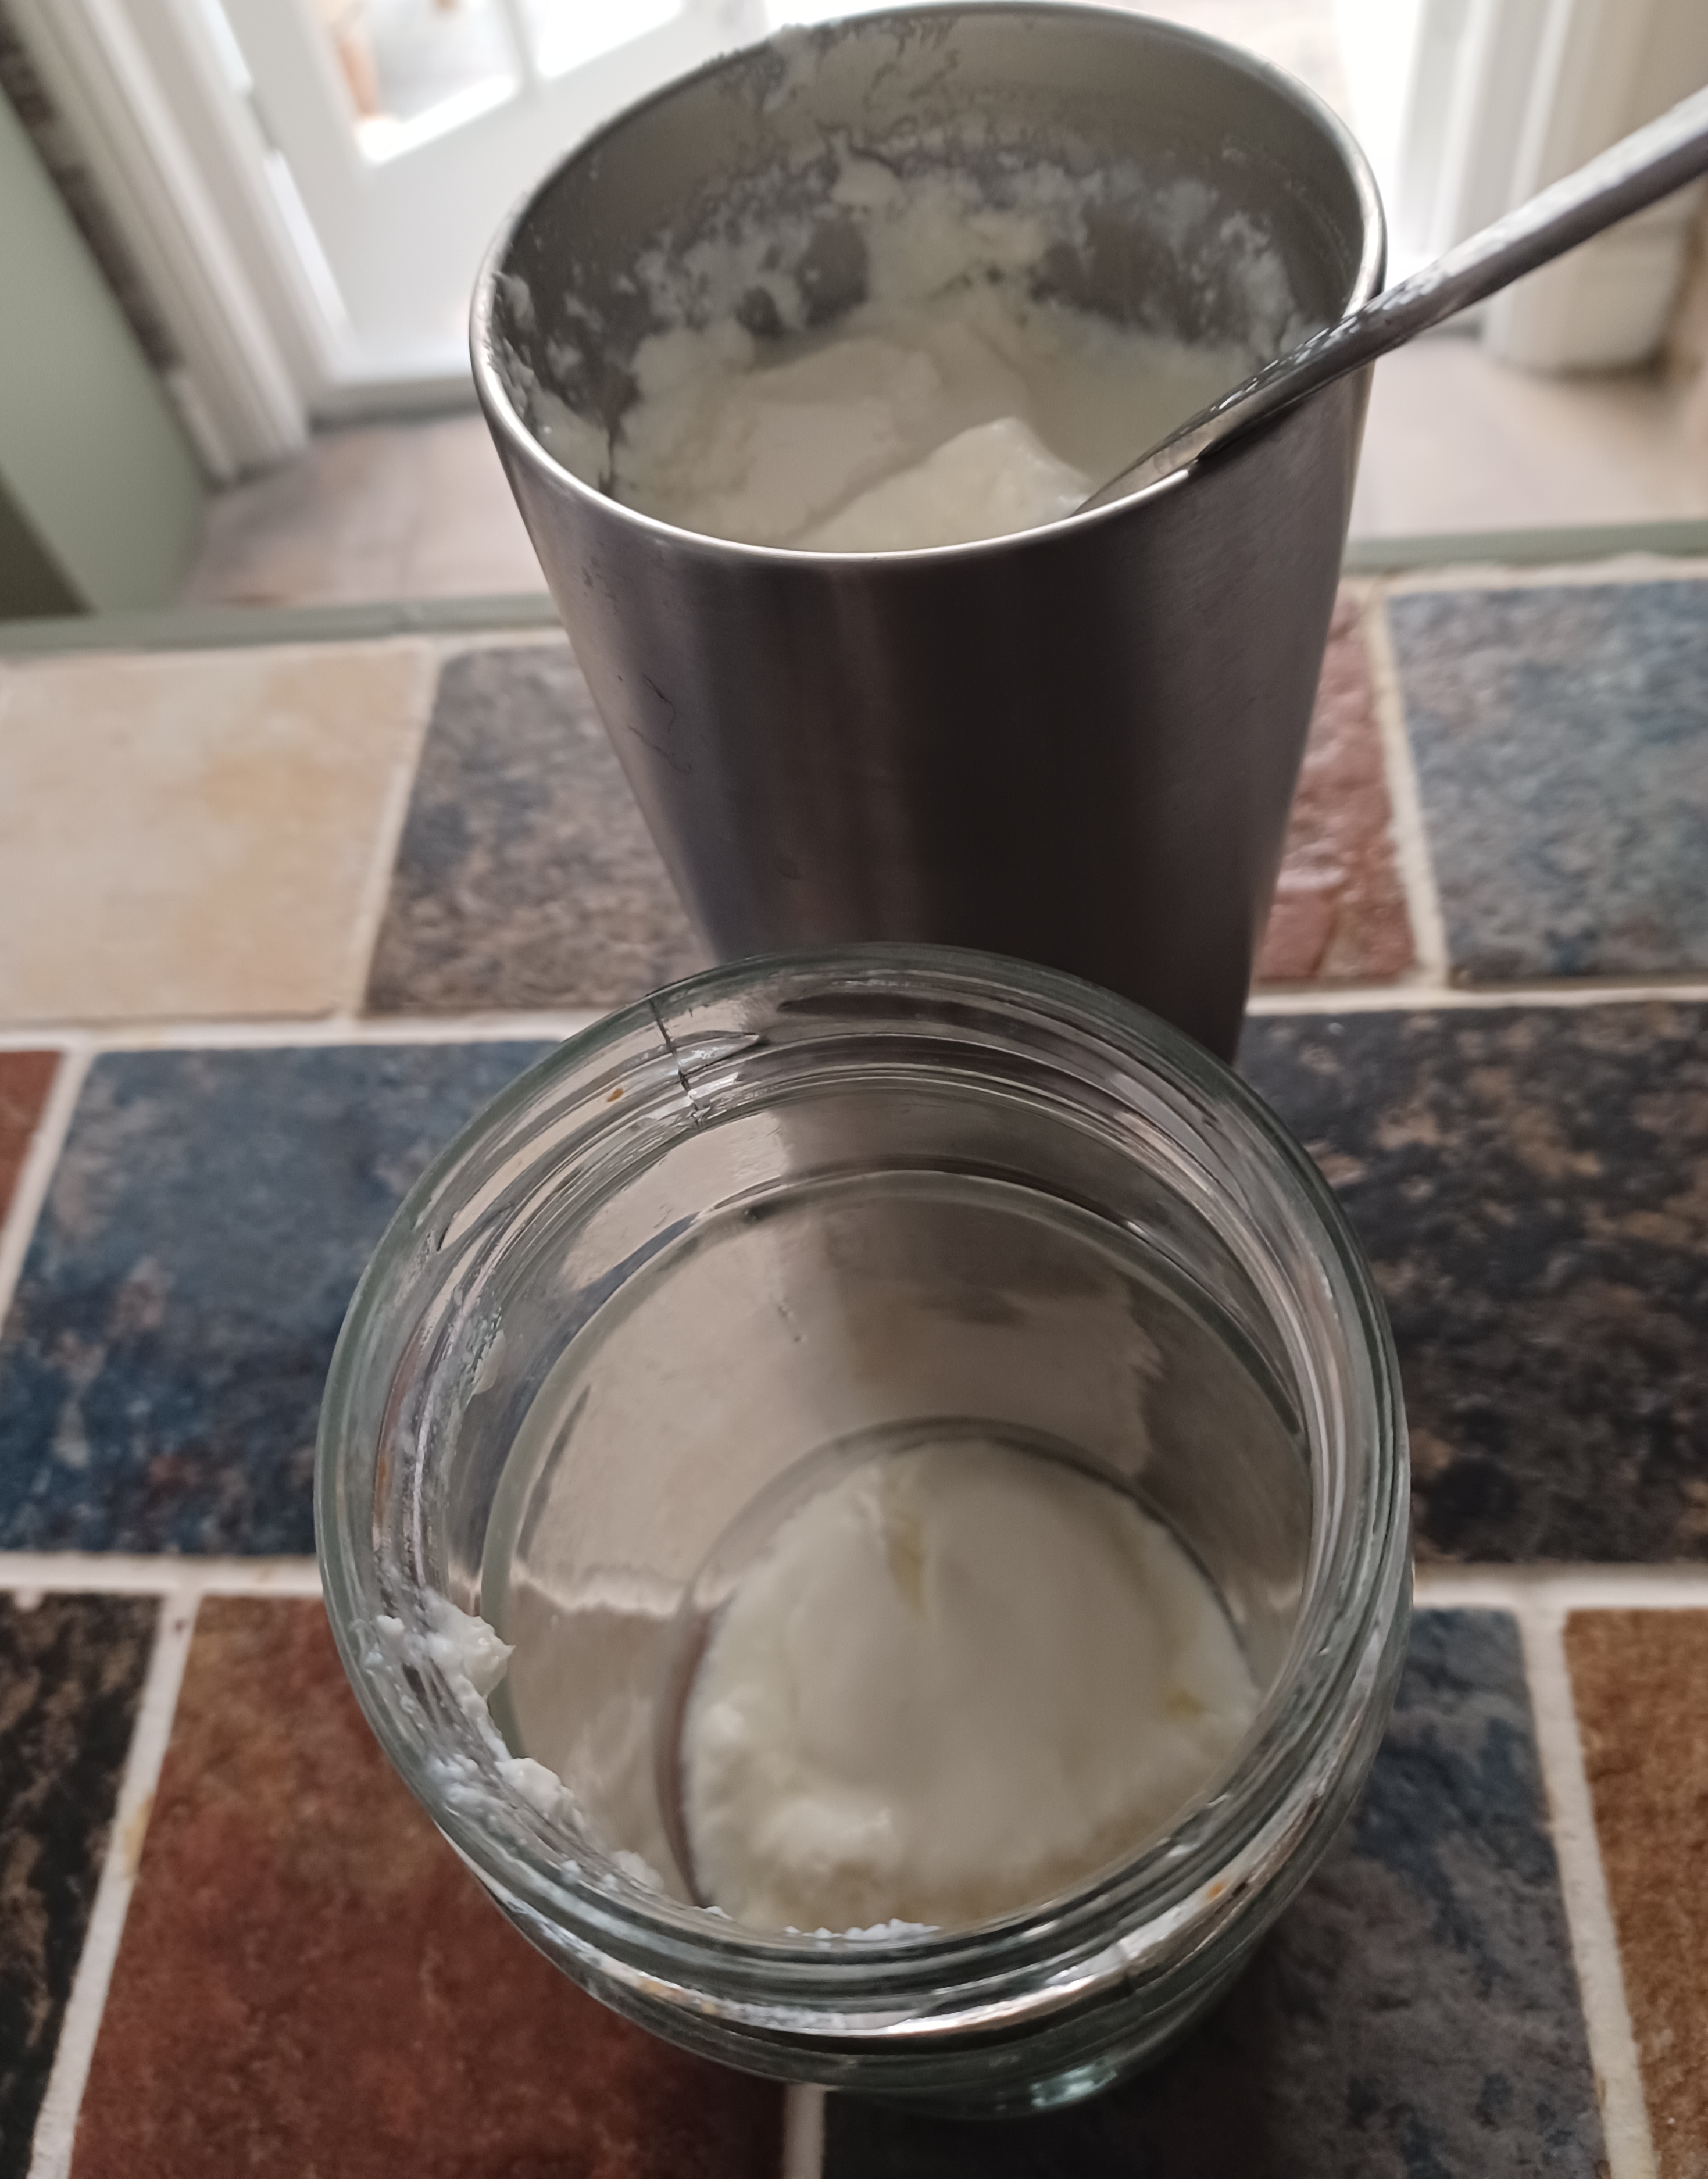
7. The following morning, check to see how your yoghurt has set and then spoon it into your sterilised jam jar. If you prefer Greek Yoghurt to the set variety strain through a piece of muslin cloth over a bowl and then decant into the jam jar. Screw the lid on tightly if you have one, otherwise cover the top with cling film and an elastic band and store in the fridge. Consume within a few days.
COOK’S TIP: you can produce your next batch of Live Yoghurt with your own starter by reserving 3 tablespoons of your homemade yoghurt!
BON APPETIT!
