Tags
Taken from Favourite Boating Recipes by Cas Best and inspired by a bunch of giant, prize-winning onions from a lock-side garden, this simple recipe creates a delicious, full-bodied onion soup, similar to French Onion Soup (which it would be were you to make one or two modifications to the recipe) and can easily be prepared in a slow cooker, on a camping stove, in a pot over a campfire or in the small galley kitchen of a narrow boat on the canal.
Historically, the Lock-Keeper held an important role on the waterways of Great Britain in the management and maintenance of the lock (a gated section on a canal or river) and facilitating the navigation and safe passage of boats on their journeys. Their duties would also have included opening and closing the gates, operating the lock mechanisms and sometimes managing the associated weir to control water flow and levels, especially during droughts or heavy rain.
The occupation dates back to the 1700s and the term “lock-keeper” was first recorded in 1762. Traditionally, lock-keepers lived in small, ‘tied’ cottages and often had additional responsibilities including minor repairs, selling provisions such as flowers and vegetables from their beautifully-kept gardens to passing boats and maintaining nearby canal infrastructure. The lock-keeper’s work was essential for transporting goods including coal, grain and clay during the Industrial Revolution, when canals were a primary means of inland transport.
With the decline of commercial canal traffic these days, many locks are now unstaffed however in certain regions the lock-keeper does remain important for recreational boating and water management although the role is mostly a voluntary one. At large locks or on major rivers several lock-tenders may report to a Lockmaster, who oversees operations and in other cases, a single lock-keeper may manage multiple locks, guiding hundreds of boats every day up and down the waterway.

INGREDIENTS (makes 6-8 helpings)
- 4 large onions, finely chopped
- 1 tbsp oil for frying
- 13/4 pints vegetable stock
- 1 tsp yeast extract (such as Marmite or Vegemite)
- Fresh ground black pepper
Heat the oil in a large saucepan and gently fry the onions until just softened.
Add the stock and yeast extract and stir well. Season with plenty of freshly ground black pepper.
Bring to the boil, stirring, then cover and simmer gently until the onions are really soft.
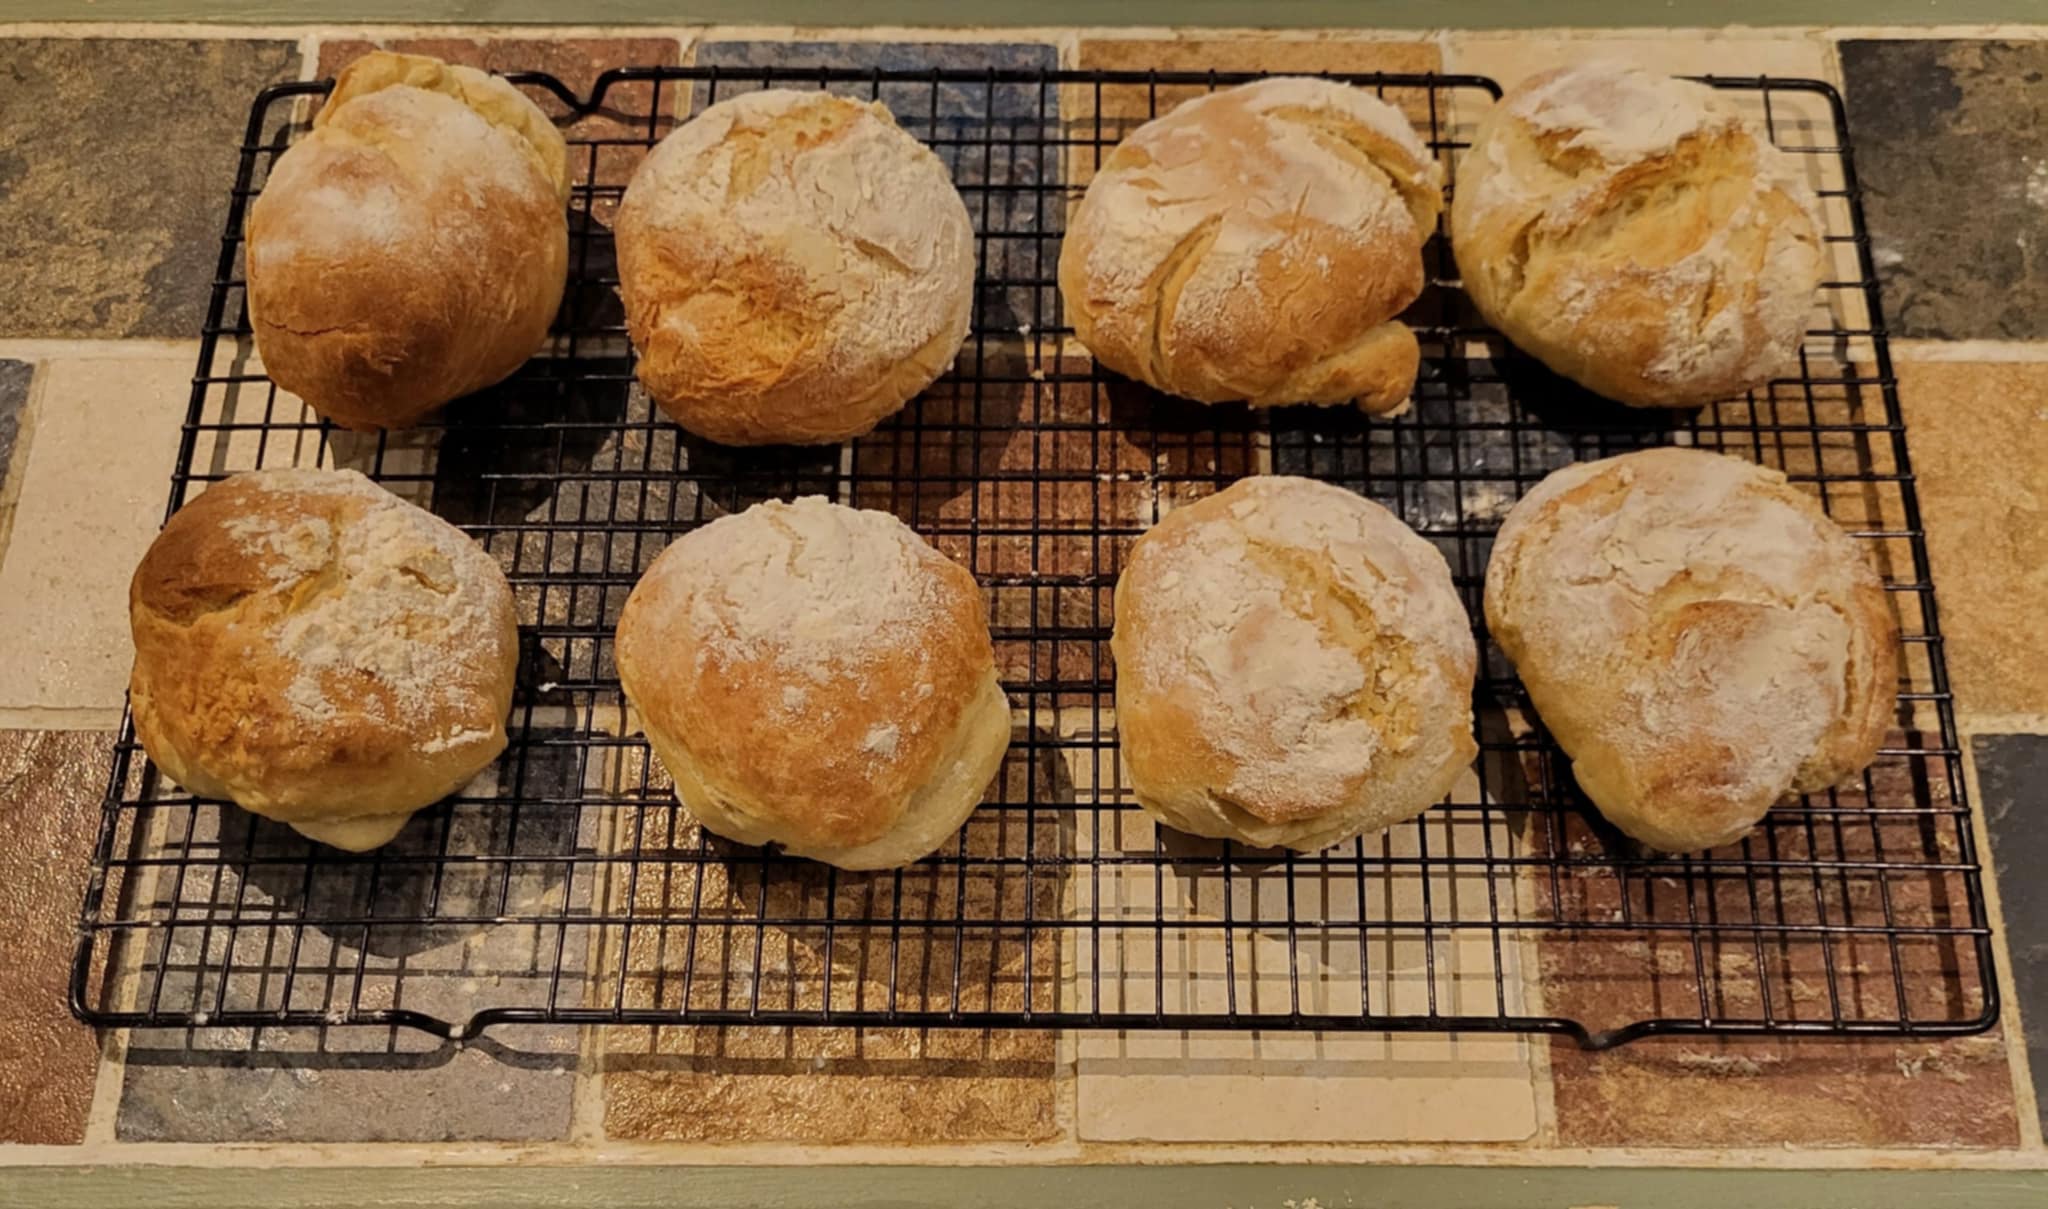
Serve with chunks of fresh, crusty bread.
COOK’S TIPS
Add some fresh or dried herbs of your choice to the simmering pot. Sage, parsley and/or thyme would all work well.
For a French Onion Soup, substitute the vegetable stock with beef stock (and perhaps a cheeky splash of red wine – just because!)
To pimp this recipe up to the next level, either fry some cubes of day-or-two-old bread to serve up as croutons or, alternatively make some cheesy giant croutons with day-old bread topped with some sharp cheddar and place under the grill until bubbling and golden.
If you would like to make this recipe in a slow cooker and leave the soup to do its thing, then my video below shows you how:-
Bon appetit!
Catherine
Make a one-time donation
Make a monthly donation
Make a yearly donation
Choose an amount
Or enter a custom amount
Your contribution is appreciated.
Your contribution is appreciated.
Your contribution is appreciated.